
Sending a post to your client for review
Once a post is ready for your client's eyes, sending it for review is one click. The post flips from Draft to Review needed, lands at the top of their portal, and they get an email notification.
How to send a post for review
Two ways to do it, either works:
- From the post itself: open the post from anywhere (calendar, list, dashboard card) and click Send for approval in the footer bar.
- From the calendar: hover on the draft's card and pick Send for approval from the small menu that appears.
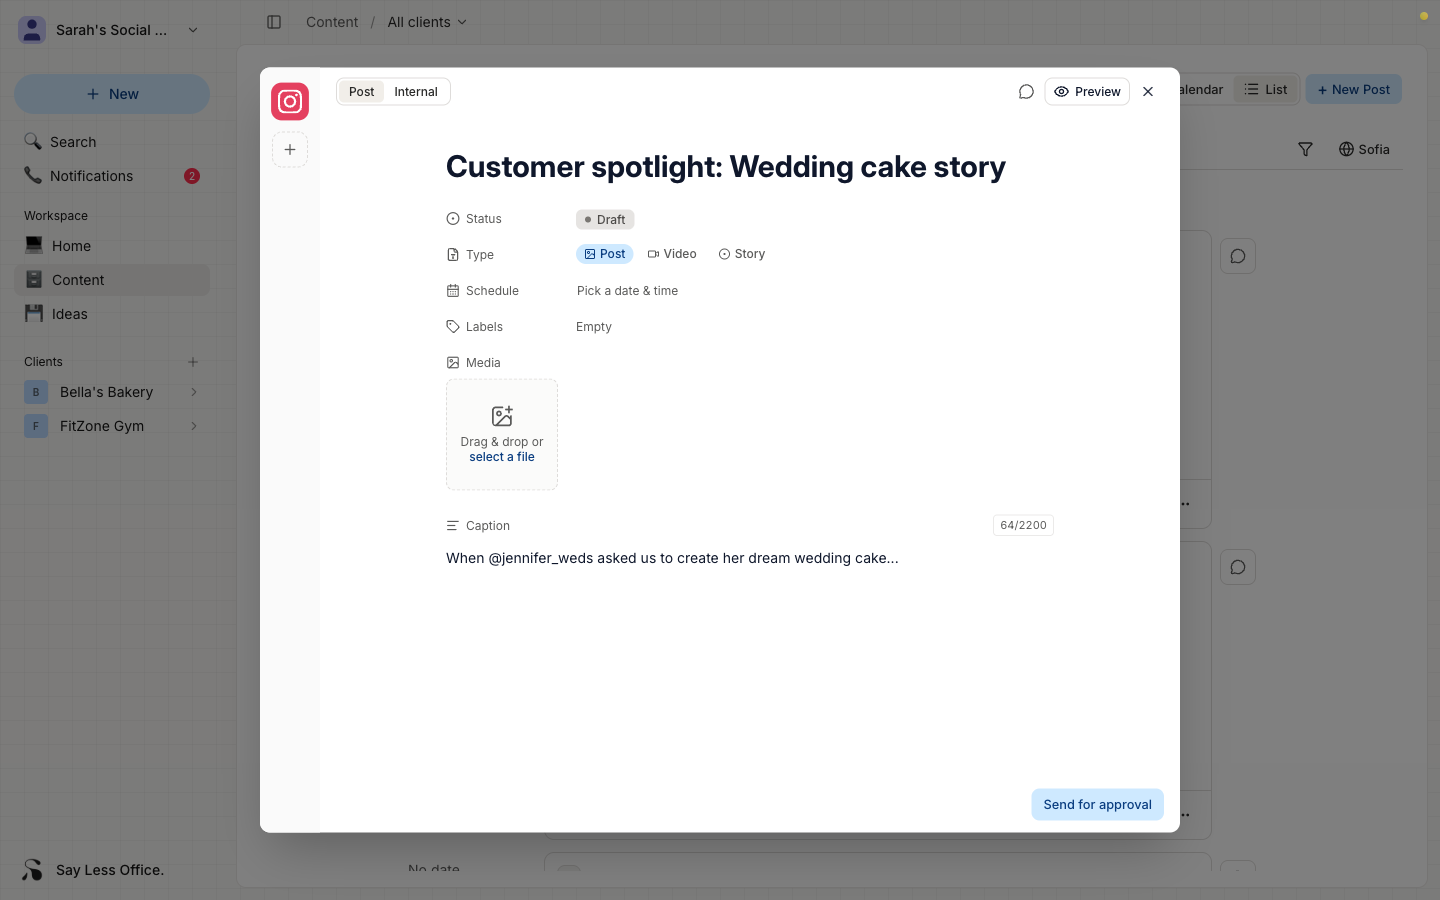
That's it. The post is now waiting on your client.
How to send a note along with the post
Sometimes you want to give the client extra context before they review. You can leave a comment on the post and it travels with it.
- Open the post in the composer.
- Click the Conversation icon (speech bubble) in the top-right of the composer header. A side panel slides in.
- Type your note in the Say something... box and click Post.
- Send the post for approval as normal.
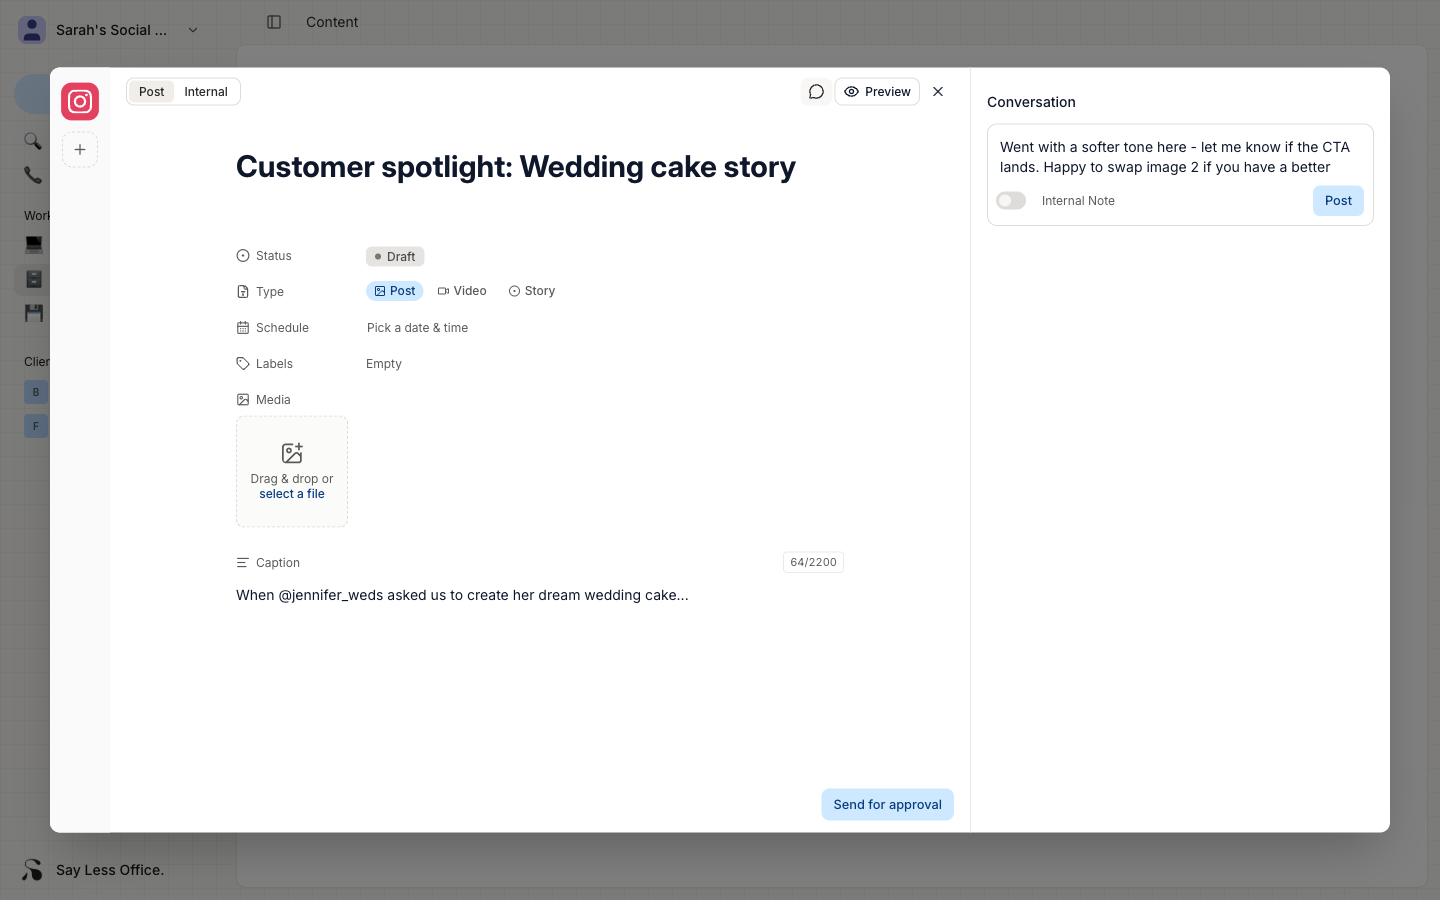
Your client sees the comment in the same Comments thread when they open the post to review. They can reply, react, or resolve it right from their portal.
What your client sees when the post lands
The post shows up at the top of their portal in the Awaiting approval section. They walk through it (caption, media, schedule date if you set one), then hit approve, send it back for a rewrite, or leave a comment.
How to cancel a review if you sent it by mistake
Click Cancel review on the post (in the calendar hover menu or the post's footer bar). The status drops back to Draft and your client stops seeing it in their portal the moment you cancel.